Netgear_ext is the default SSID for getting access to the Netgear WiFi extender. After doing Netgear extender setup through mywifiext.net, you can enjoy the internet by making your device access Netgear_ext SSID.
Both Netgear WiFi extender setup and login processes are fairly easy. However, just like with any gadget, you may occasionally run across quite a few issues with these devices, which can lead to downtime and play a drastic spoilsport for your experience.

You can easily perform Netgear range extender setup using the Installation Assistant. Here’s how to setup Netgear WiFi extender:
That’s how to setup Netgear extender using the Installation Assistant.
When it comes to WiFi Range Extenders, Netgear is the most reputable brand worldwide. Extenders are available in different models ranging from Netgear EX7000 AC1900, EX3110 AC750 to WN3000RP N300. Most of the users can’t access the internet throughout the home or office due to dead zones. These are the places where users get poor or zero connectivity. To turn such dead zones into fun zones, users must perform Netgear Extender Setup. After doing the Netgear range extender setup, you can enjoy a hassle-free internet connection in every corner of your home.
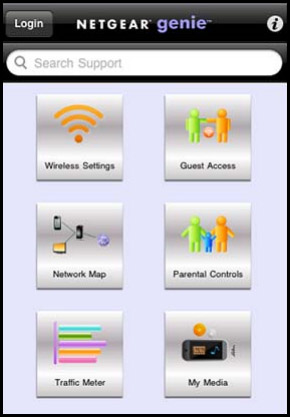
New Extender Setup is the foremost solution to keep all your smart devices like computers, gaming devices, mobile devices, laptops, and more connected with a seamless and dependable internet connection. For Netgear Extender Setup, you need to perform Netgear_Ext SSID login first.
However, most users don't know how to setup Netgear WiFi extender. And that's where our specialists can come handy if you ever face an issue. Right from resolving issues you might be going through with your new extender setup to the extender configuration issues, we are right there with you, 24×7. We provide assured, professional troubleshooting with 100% client satisfaction together with 99% resolution rate.
No matter what make or model you’ve got on board, our professionals are adept at delivering you the most optimal solution for new extender setup to help you connect, troubleshoot, set up, manage, and configure your device. We understand the worth of your bucks, efforts, and time and, hence, offer the most personalized, practical, and affordable Netgear_Ext (SSID) login solutions in a timely manner with reliable assistance, therefore making sure you don’t face the same issues ever again. To know how to setup Netgear extender without any issues.
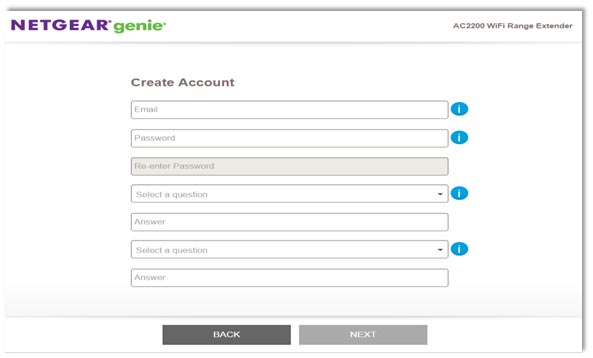
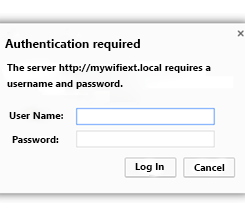
Mywifiext.net plays an important role in the whole process of Netgear Extender Setup. To install and configure an extender, launch an internet browser and open new extender setup wizard. There is a need of username and password for accessing this web page. Fill in the required login details and proceed further with the setup process. After this, Netgear Genie Smart Setup wizard will appear. This wizard provides step-by-step guidance to set up and install an extender. Carefully follow them and make the WiFi Extender up and running via http://mywifiext-local in a few seconds.

Not only for the setup, but the web address is also used to open up the Netgear WiFi extender settings. But sometimes, the URL is not showing any setup page; instead, you see a website with a normal page or an error on the page. The error is shown either because you are not connected to the Netgear_ext (SSID) or your WiFi extender is not connected to your main network.
Check your network cables if they are connected to your WiFi Modem correctly. Check if your modem is working well. All the lights (at least 4) are glowing. If all are good, try once by switching off the modem and turning on again and try connecting your extender again.
When you are connected to the network, you will see the web-based setup page. If you are not seeing the page on your screen then you need to check your network.
You can also try using the IP address in the place of the default web URL while logging in to your Netgear extender. If your range extender showing green lights, it means it's switched on and working.
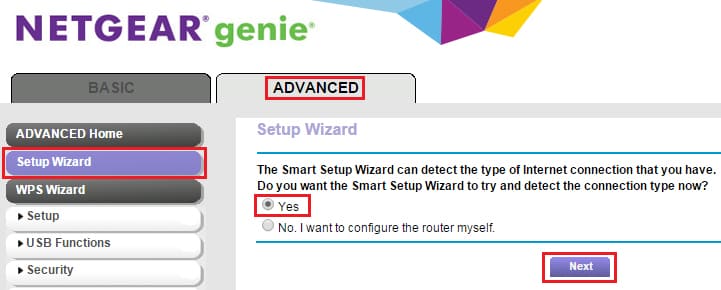
Here are the steps to perform Netgear extender setup manually:
In case you find the manual method of Netgear extender setup quite tricky for you, we have got you covered! Use the WPS setup method to perform Netgear WiFi range extender setup with ease. Here’s how to setup Netgear extender using the WPS method:
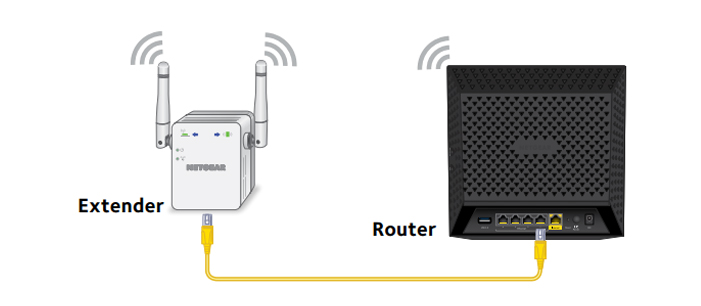
In the event that your home WiFi router doesn’t have any WPS button, utilize an Ethernet connection for Netgear WiFi range extender setup. Here’s how to setup Netgear WiFi extender using an Ethernet cable:
Now, you know how to setup Netgear WiFi extender. If you come across any type of technical issue during the Netgear WiFi extender setup process, feel free to contact our technicians via chat or email.
Mywifiext.local web address is meant for helping you perform the Netgear WiFi extender setup using a Mac or iOS device. Local address stands for settings panel which is stored on index file. When users open the web address on a web browser, they will be redirected to the index file. Then, it asks for the login credentials.
This web-based page allows you to access your Netgear range extender. Here, you can make both basic and advanced setting changes. To set up your extender, access the http://mywifiext.local web page on your Mac OS X or iOS device and follow the on-screen prompts. Thus, you can set up and configure your extender with ease.
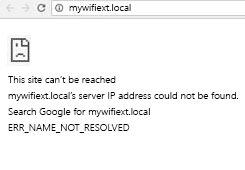
When you try to go to the web page to set up your wireless extender, you might receive an error message or unable to connect to the website. This can occur because the site is not a regular internet website. Mywifiext local is a web address used to open the settings of your Netgear extender. In case you fail to set up your extender using your Mac device, you can take help from our technicians.
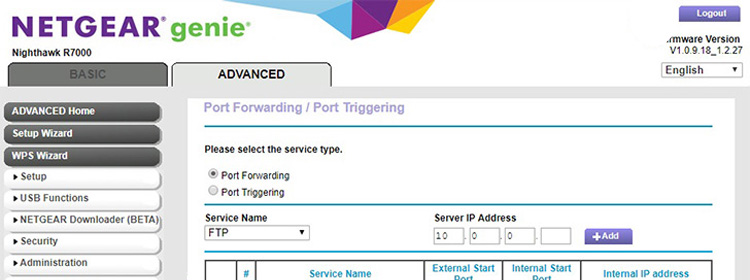
There are a lot of features that Netgear Nighthawk WiFi router provides to users. One of the features ...
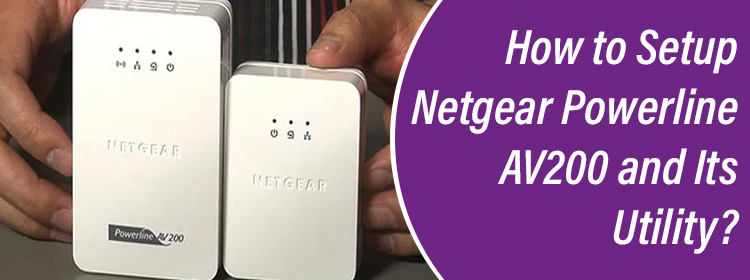
The Netgear Powerline adaptor extends local area network (LAN) anywhere in your home. there are easy i...

Netgear WiFi router interface helps users adjust router settings, networks, update firmware, and enabl...