There are a lot of features that Netgear Nighthawk WiFi router provides to users. One of the features is Nighthawk router port forwarding.
The port forwarding helps to connect the internet devices on a single local area network easily.
To setup router port forwarding rules, you just have to follow simple and easy steps given down here. So, why you are waiting let’s dive in to it.
Note: If you setup port forwarding for the router in past, then you can edit the rules by following same instruction given down here.
You can easily edit or activate port forwarding with the help of Netgear Nighthawk router interface. So, at first get access to the interface.
To reach the Netgear Nighthawk login interface, you have to use your computer and connect it to the router with the help of the LAN cable. Then, follow simple steps down here.
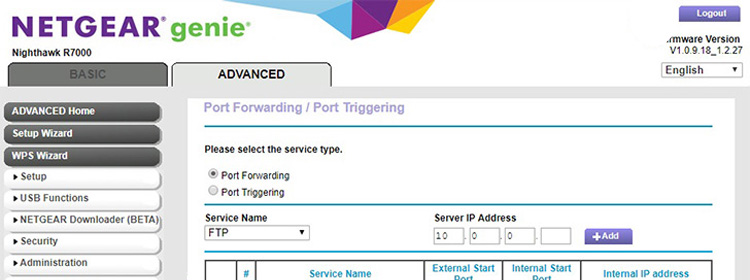
Now, you must apply some more instructions to reach the port forwarding rules tab and enable it, which are given in next section of the blog.
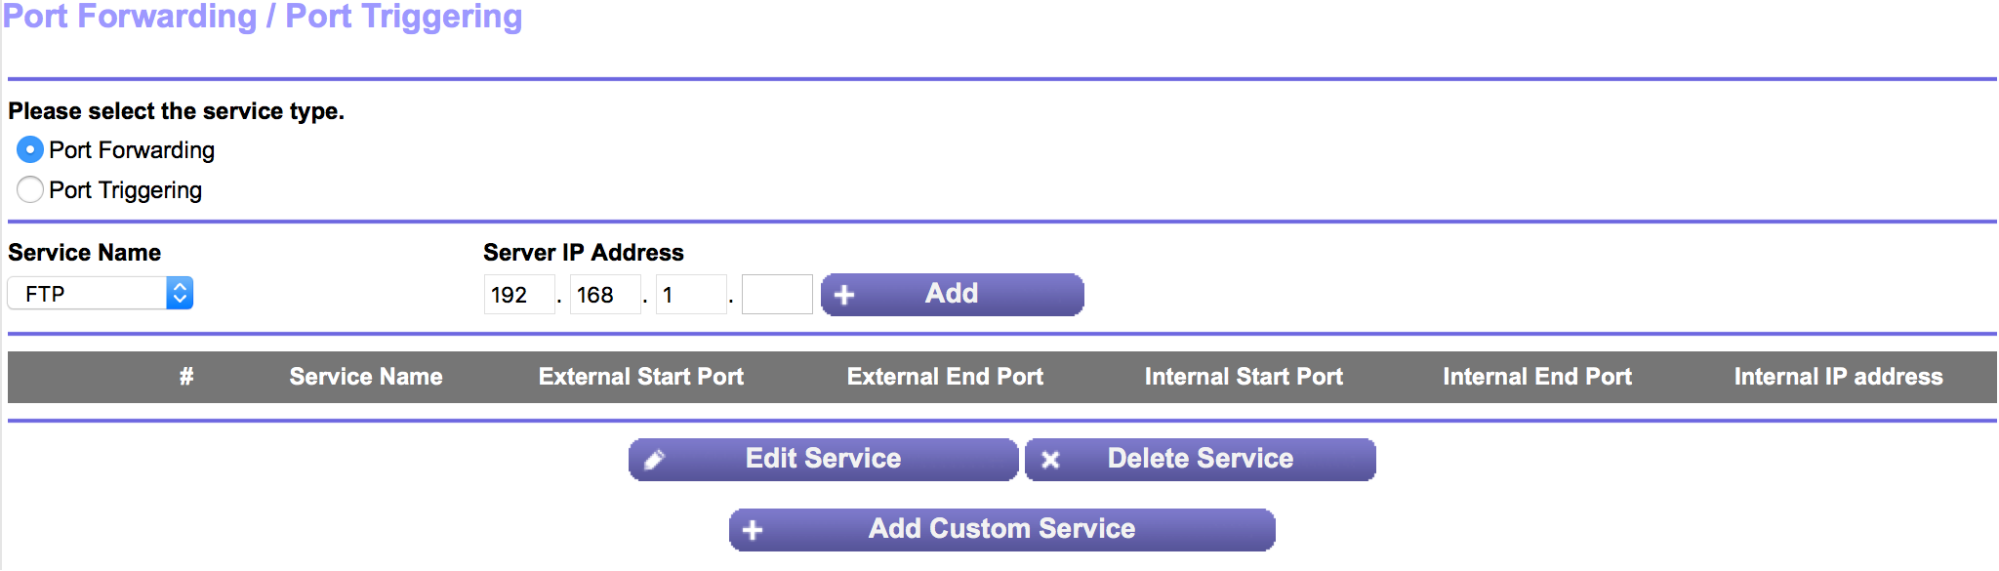
To save all the changes you have to click on the APPLY button given at the bottom of the computer screen.
You can update the web browser by going to its SETTINGS, then select ABOUT, and clicking on the UPDATE button.
Here we have adding a few conclusion lines at last, where you have learned how to access the interface of the router. Then, we discussed some instructions to edit and enable the Netgear Nighthawk router port forwarding rules easily. At the end, you went through a small note, in which you have learned a few tips.
Tags: Nighthawk Router, Nighthawk Router Port Forwarding
Dave Francis is a WiFi network expert and a technical writer dedicated to helping users optimize their home networks. He focuses on providing clear, actionable steps to help readers get the best service out of their devices. With the background in Information-Technology and passion for WiFi devices, he provides practical advice and solutions for setting up and managing Wi-Fi devices. He breaks down technical issues and offers simplified solutions through easy guides and tutorials.

