Honeywell thermostats need no intro today. But, when it comes to connecting a Honeywell Thermostat to a Netgear WiFi router, people end up getting confused. Are you also among those confused users? Have you answered yes? Then, this blog can help you a lot. Here, we have summed up complete instructions explaining how to connect Honeywell Thermostat to WiFi of Netgear router in a few words. Keep reading.
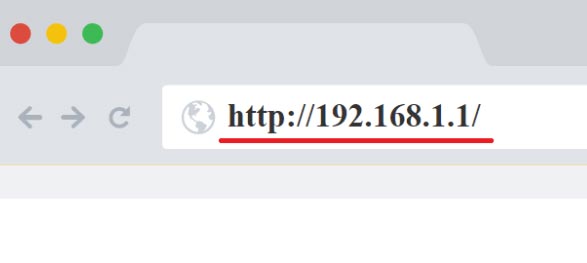
Jotted down below are the instructions that will make you learn how to connect Honeywell thermostat to the WiFi of a Netgear router. Before we begin, we want you to confirm that you have completed the Netgear router setup with the help of correct routerlogin IP.We also recommend you have a look at the Ethernet connections related to your WiFi router. Everything’s perfect? Great! Now, you can shift your focus on learning how to create a connection between Honeywell thermostat and the Netgear router WiFi network. Here’s how:
Note: You can check the label of your Netgear router if you want to know about the default router’s SSID and network key (WiFi password).So, if you have never changed the SSID and WiFi password of your Netgear router, the label can help you out. However, these details will not be able to help you out if you have changed the default values.
Note: Your default web browser may be Chrome or Edge. But, there’s one thing that you need to remember. The web browser version you are using to connect Honeywell thermostat to the WiFi of Netgear router must be the latest one. In addition, you need to make sure that the browser is free of all kinds of cache.
Here ends the instructions explaining how to connect Honeywell thermostat to WiFi of a Netgear router. Since the connection process is complete and you have confirmed the same by seeing a message on the thermostat’s screen. The signal strength will also be displayed there. If it is weak, you are required to bring your devices a little closer. And yes, do take care of the WiFi interference creating factors.
Just to be 100% sure that you have connected your Honeywell thermostat to the WiFi network of your Netgear router, you are suggested to access the routerlogin.net setup URL and check the list of devices connected to the router’s network. If the Honeywell thermostat shows up there, you’ve achieved success. And one more thing to say, the aforementioned steps can be used if you want to connect your Honeywell thermostat to Netgear_ext i.e. the default network broadcasted by a Netgear range extender.
No matter whether you want to install one Honeywell thermostat or many, the instructions we’ve discussed here will remain the same. Just be very sure that all the thermostats are located in the range of your Netgear router. And with that, we are now wrapping up the guide explaining how to connect Honeywell thermostat to WiFi of Netgear router. We hope that you’ll reap the benefits of this marvelous connection.
Tags: connect Honeywell thermostat to WiFi, Routerlogin
Dave Francis is a WiFi network expert and a technical writer dedicated to helping users optimize their home networks. He focuses on providing clear, actionable steps to help readers get the best service out of their devices. With the background in Information-Technology and passion for WiFi devices, he provides practical advice and solutions for setting up and managing Wi-Fi devices. He breaks down technical issues and offers simplified solutions through easy guides and tutorials.

