Google is flooded with queries related to the connection between a Netgear WiFi range extender and an Eero router. Generally, it is recommended to add more Eero units in order to extend the range of the existing Eero router. But, as Netgear extenders promise to work with every type of WiFi router, millions attempt to combine them to extend the network. Keeping this in mind, we’ve penned down an informative guide that will focus on how to connect Netgear extender to Eero. So, shall we start?
To make things easier, we have divided the connection process into three stages. You ought to walk through all the sections in a sequential manner to complete the process.
The first stage of creating a connection between an Eero WiFi router and extender is all about learning what is necessary to enter stage 2. Given below are the things that you need to arrange before you connect the extender to your Eero device:
We expect that you’ve arranged the things or details mentioned in stage 1 of connecting your Netgear extender and the Eero router. We can now head over and reveal what needs to be done in the next stage of the process.
The steps you are required to follow now are given below. However, we suggest you power down the Eero router as well as the Netgear extender before you proceed further. This will let your devices rest and resolve technical glitches that might occur while setting up the extender.
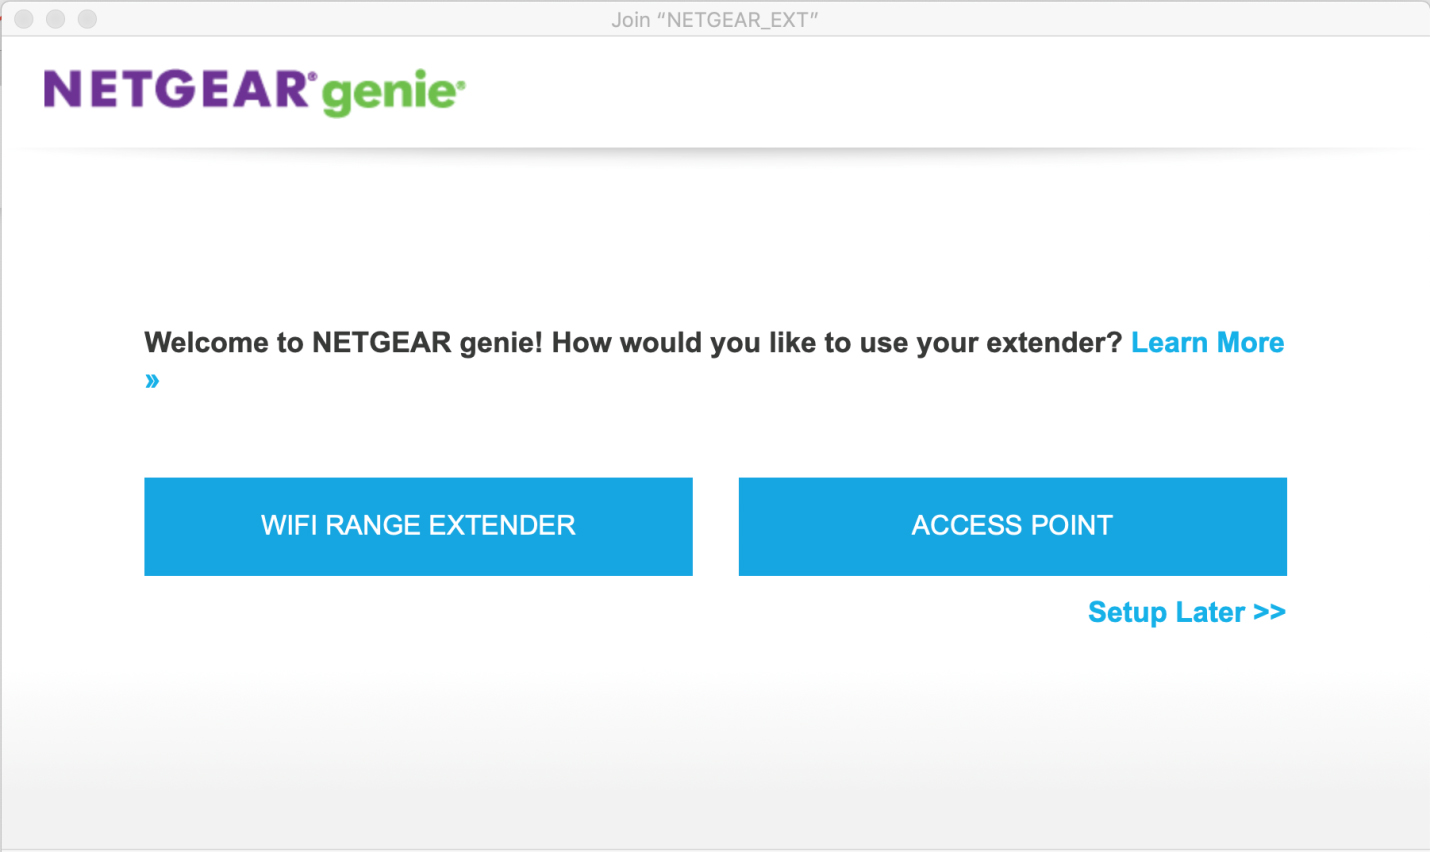
The moment you see the extender lights turning stable, you are supposed to switch on your computer and connect it to the network name Netgear_ext. For your information, it is the default WiFi name i.e. SSID of your Netgear WiFi range extender that will appear on the network list of your computer. Once you connect your PC to the extender’s SSID, use the following steps to learn how to connect Netgear extender to Eero and extend your WiFi:
That’s how to connect Netgear extender to Eero. It is expected that you’ve completed the connection process beautifully. Now, you can connect as many WiFi clients to the Netgear extender network to enjoy the extended WiFi.
Now, we have reached the end of the post describing the connection process between a Netgear extender and an Eero router. But, there’s a possibility that you won’t be able to access the 192.168.1.250 IP address because of a wired connection between the extender and router. Thus, you might think that you failed to learn how to connect Netgear extender to Eero router. There’s no need to panic.
All you are supposed to do in that case is to launch the Eero app on your mobile phone and check the list of connected devices. From there, note down the IP address assigned to your Netgear extender and use it instead of the default IP address. The connection process will be successful now.
Tags: best WiFi extender for Eero, connect Netgear extender to Eero, Netgear_ext, WiFi extender compatible with Eero
Dave Francis is a WiFi network expert and a technical writer dedicated to helping users optimize their home networks. He focuses on providing clear, actionable steps to help readers get the best service out of their devices. With the background in Information-Technology and passion for WiFi devices, he provides practical advice and solutions for setting up and managing Wi-Fi devices. He breaks down technical issues and offers simplified solutions through easy guides and tutorials.

