Many users are not aware of the steps involved in the connection process of a Netgear extender with a Frontier WiFi router. Since you are reading the post, we are assuming that either you are a novice or are partially familiar with the connection process. Well, know that, once you know the steps to connect Netgear extender to a WiFi router launched by frontier, you will find the process quite similar to the Netgear extender setup. Read on.
Try the WPS Approach First
You are suggested to go for the easiest method if you own a WPS router that has a WPS button. In this approach, you just need to press the router’s and the extender’s WPS button. Within a minute or two, your devices will get connected. However, you can’t use this method, if the router does not support the WPS configuration. The manual method is the only way left in that case.
You must perform a factory default reset of the extender before initiating its connection with the router. It is important! Also, take note of the SSID and the network key of the Frontier router. You will need them later. Once done, you can start the connection process without further ado.
Without powering up the extender and router, you cannot connect them. But, before you do that, make a little effort of placing them in the same room. It is important for the setup/connection process. Thereafter,
As soon as your Netgear extender and the main router get powered up, you will have to bring your PC/laptop into action. Thus, power it up and open its WiFi settings.
Now, let’s delve a little deeper to connect Netgear extender to Frontier router and learn how to access mywifiext.net to proceed further.
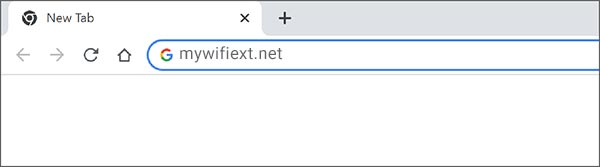
The next step is to log in to the extender. Know that it is not necessary that you will see the admin page of the extender. Thus, be patient. With the successful visit of the Netgear extender login URL, you will see the admin window where you have to enter admin and password into the User name and Password fields. After that,
The list will also show the WiFi network named broadcasted by the Frontier router. Therefore, select that network and input the WiFi password when asked for. Click Connect and walk through a few prompts. These prompts will include:
In this manner, you can connect your Netgear extender to Frontier router. As your devices are now successfully connected, we suggest you test the network speed on your computer. Run a speed test. If everything is OK, relocate the extender.
The 5-step guide explaining the connection process between a Netgear extender and a Frontier router ends here. We are expecting that the connection is completed. But, when you attempt to relocate the range extender, be very certain that you place it in the location where your router is capable of transmitting signals. Otherwise, both devices will fail to communicate. It is recommended that you keep this distance between 8-10 ft.
The path of the communication between your Netgear extender and the router must be free of WiFi interference. For that, it is necessary that you keep the extender away from devices that emit electromagnetic frequencies and objects that contain a large amount of water. Also, do not underestimate the reflexive surfaces as they can bounce WiFisignals back.
Tags: connect Netgear extender to Frontier, Netgear extender setup
Dave Francis is a WiFi network expert and a technical writer dedicated to helping users optimize their home networks. He focuses on providing clear, actionable steps to help readers get the best service out of their devices. With the background in Information-Technology and passion for WiFi devices, he provides practical advice and solutions for setting up and managing Wi-Fi devices. He breaks down technical issues and offers simplified solutions through easy guides and tutorials.

