The WiFi range extender connects to your home router and it extend the router’s WiFi signals in your house.
The Netegar extender does not provide any accessories with it, you can simple plug it in the wall socket and connect it to the router by using WPS option.
Here, we will take you through simple steps that help you to connect Netgear extender to Virgin router and complete the Netgear WiFi extender setup easily.
To link the extender to the Virgin router without using any cable (WPS option), you have to follow some instructions given right down here.
After the connecting the Virgin router to the Netgear range extender, you have to access the extender interface with the help of simple steps given down here.
To get the access to the Netgear extender interface, you just have to connect your computer to the extender via LAN cable. Then, you must follow some steps.
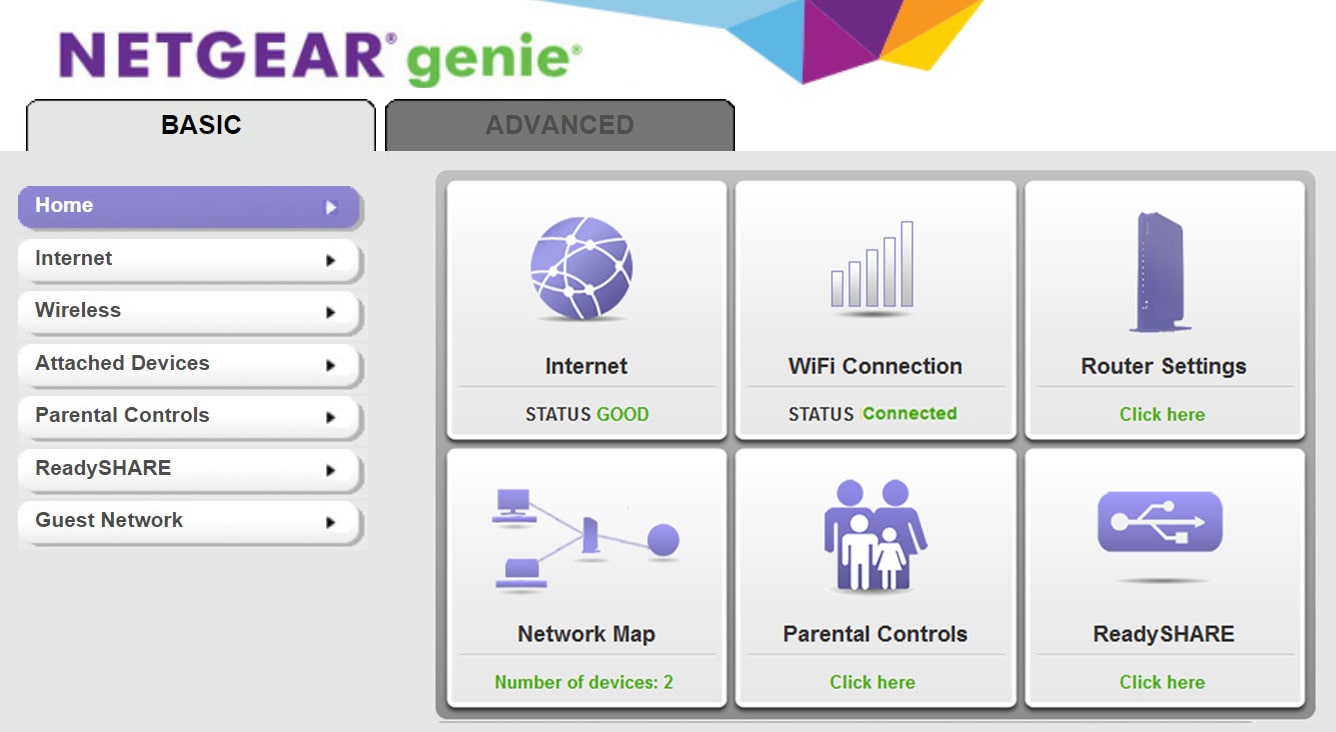
From this interface, you can configure the extender settings and networks. Update firmware and add a new admin password is now easily initiated with the help of this Netgear extender interface.
After setting up the Netgear WiFi range extender in your house, you must know the process of how to update the extender firmware and how to change the admin credentials.
After the update, the extender will reboot itself, so don’t turn of the extender or computer.
Now, let’s see how to change the admin password of the Netgear WiFi extender by using simple steps written below.
So, here we end this informative blog, where you have learned how to connect Netgear extender to Virgin router with the help of easy instructions. Also, you have gone through some more extra sections that contain steps to update the extender firmware and change the extender admin credentials.
Tags: connect Netgear extender to virgin router, Netgear wifi extender setup
Dave Francis is a WiFi network expert and a technical writer dedicated to helping users optimize their home networks. He focuses on providing clear, actionable steps to help readers get the best service out of their devices. With the background in Information-Technology and passion for WiFi devices, he provides practical advice and solutions for setting up and managing Wi-Fi devices. He breaks down technical issues and offers simplified solutions through easy guides and tutorials.

